 |
| |
|
| |
Product viewer |
|
| |
The product viewer provides an animated simulation of a product being taken off a shelf, inspected and put back. It is a quick and convenient way to get a close-up look at a product. |
|
| |
| |
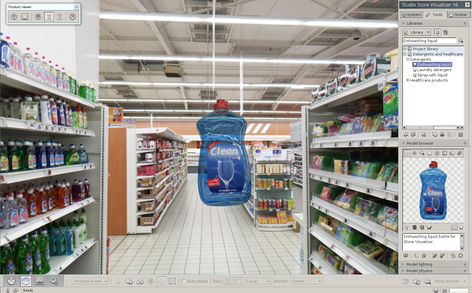 |
Select the product you would like to view and press the product viewer icon located on the right hand side of the object manipulation toolbar or press the 'p' key.
An animation will start, the selected product will leave the shelf and move to the middle of the aisle. You can now inspect it from all sides.
Position the mouse pointer over the product and click the left mouse button. Moving the mouse while holding the mouse button will rotate the product. When you are done press the 'p' key again. The product will then return to its original position on shelf.
Note: The product viewer can be used on single objects, groups or arrays. |
|
|
| |
|
| |
|
| |
|
| |
Create a standalone viewer |
|
| |
Sometimes you might want to share your projects with colleagues or clients that do not have Store Visualizer installed on their computer. While you could take screenshots or generate a report as described above, it is often more effective to let them explore the project the same way that you designed it in Store Visualizer - interactively and in real time.
With only a few mouse clicks, you can use Store Visualizer to generate a viewer file from your project. This small executable file can easily be copied, sent by email or put onto a website. By simply double clicking it, your clients will be able to view a realtime 360° representation of your project at the point you selected. |
|
| |
|
| |
| |
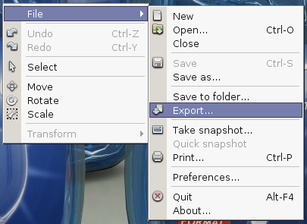 |
Right click on the Store Visualizer render area to open the main contextual menu.
Select: File > Export. |
|
|
| |
|
| |
| |
|
|
|
| |
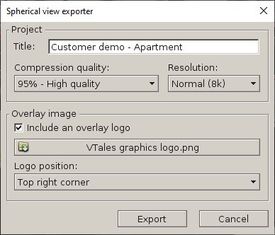 |
On the following screen, you will be able to add information about your project that your client will see when running the viewer. Note that all fields are optional, and you may leave them blank.
The exported viewer file is compressed, so to keep it small and easy to send over the internet. This compression can sometimes impact the visual quality of your project when the client views it. You can choose the amount of compression under compression quality. The higher the quality the larger the resulting viewer file will be.
Finally, after confirming with a click on export, select the location and name of the file you would like to generate. |
|
|
| |
|
| |
| |
|
|
|
| |
|
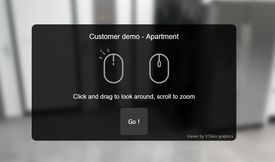
Store Visualizer will create a *.html visualization file at the designated location.
Double-click on the visualization file to start it. The viewer will work on most web browsers on both your computer and your mobile device.
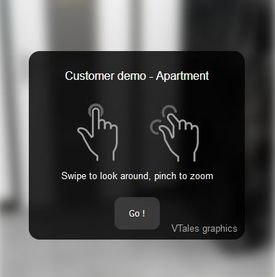
An information panel will appear on your web browser, showing how to navigate the 360° spherical image. The navigation mode varies depending on the type of device on which you start the html file. A web browser on a computer with a mouse or on a mobile device with a touch screen.
After a click on Go, you will be viewing your project in real time
Note: The project can not be modified in any way from within the viewer. |
|
|
| |
|
|
| |
|
|
| |
|
|
| |
|
| |
|
|
|
© Copyright 2025 VTales graphics - All rights reserved.
|
